Blog

Return to blog
Installing Tips For Bathroom Sink Faucets

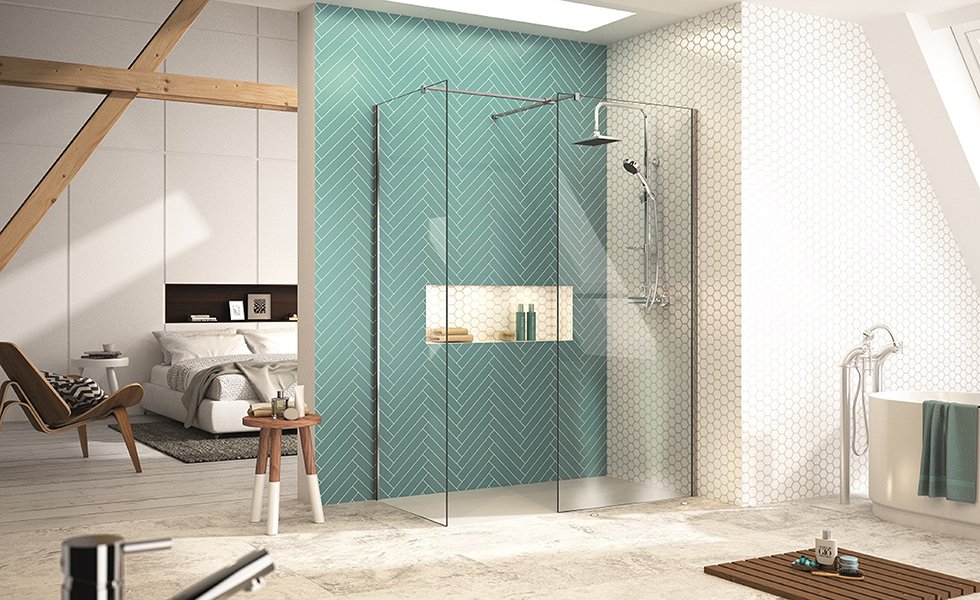
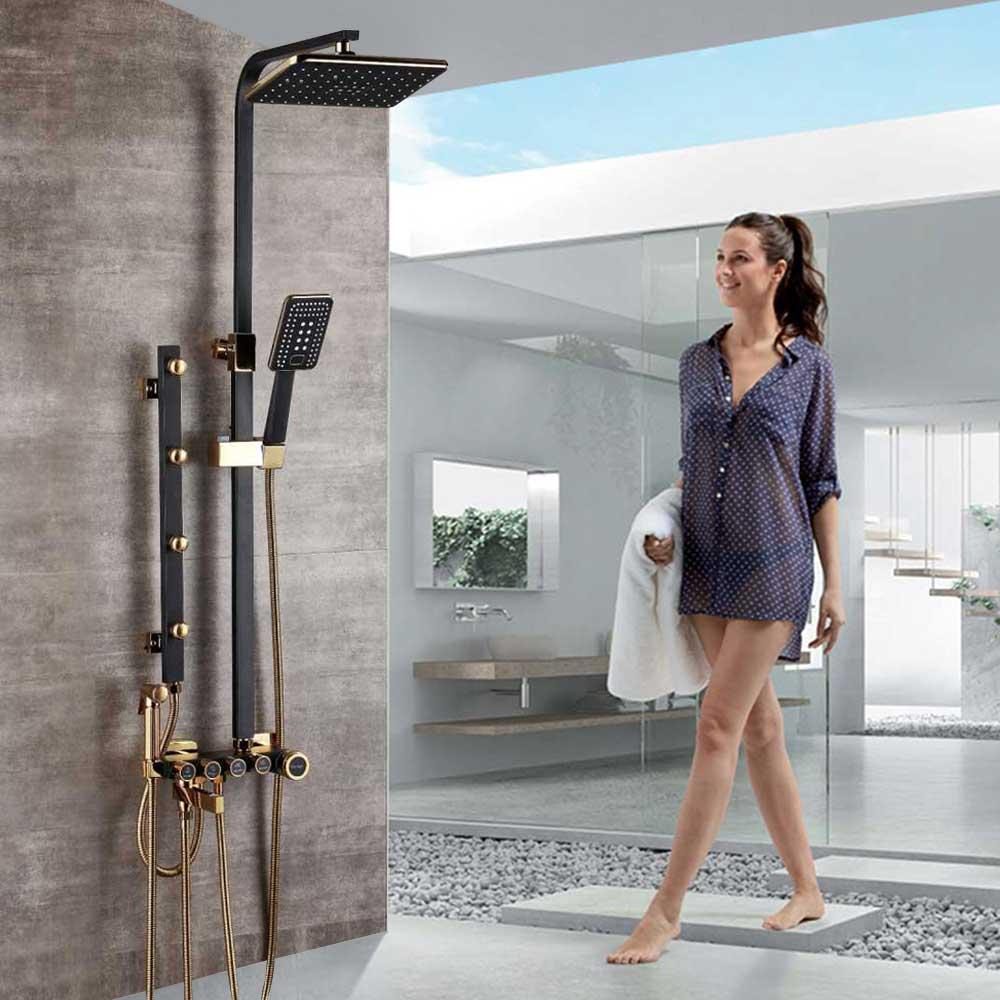
Bathroom faucets may look more useful than decorative yet the correct equipment can have a significant effect on the structure of your bathroom. There are numerous decisions in bathroom fixtures today to enable everybody to communicate in this private region of the home. These tips will assist you in choosing bathroom fixtures that will fit in with your home's decor.

Interesting points

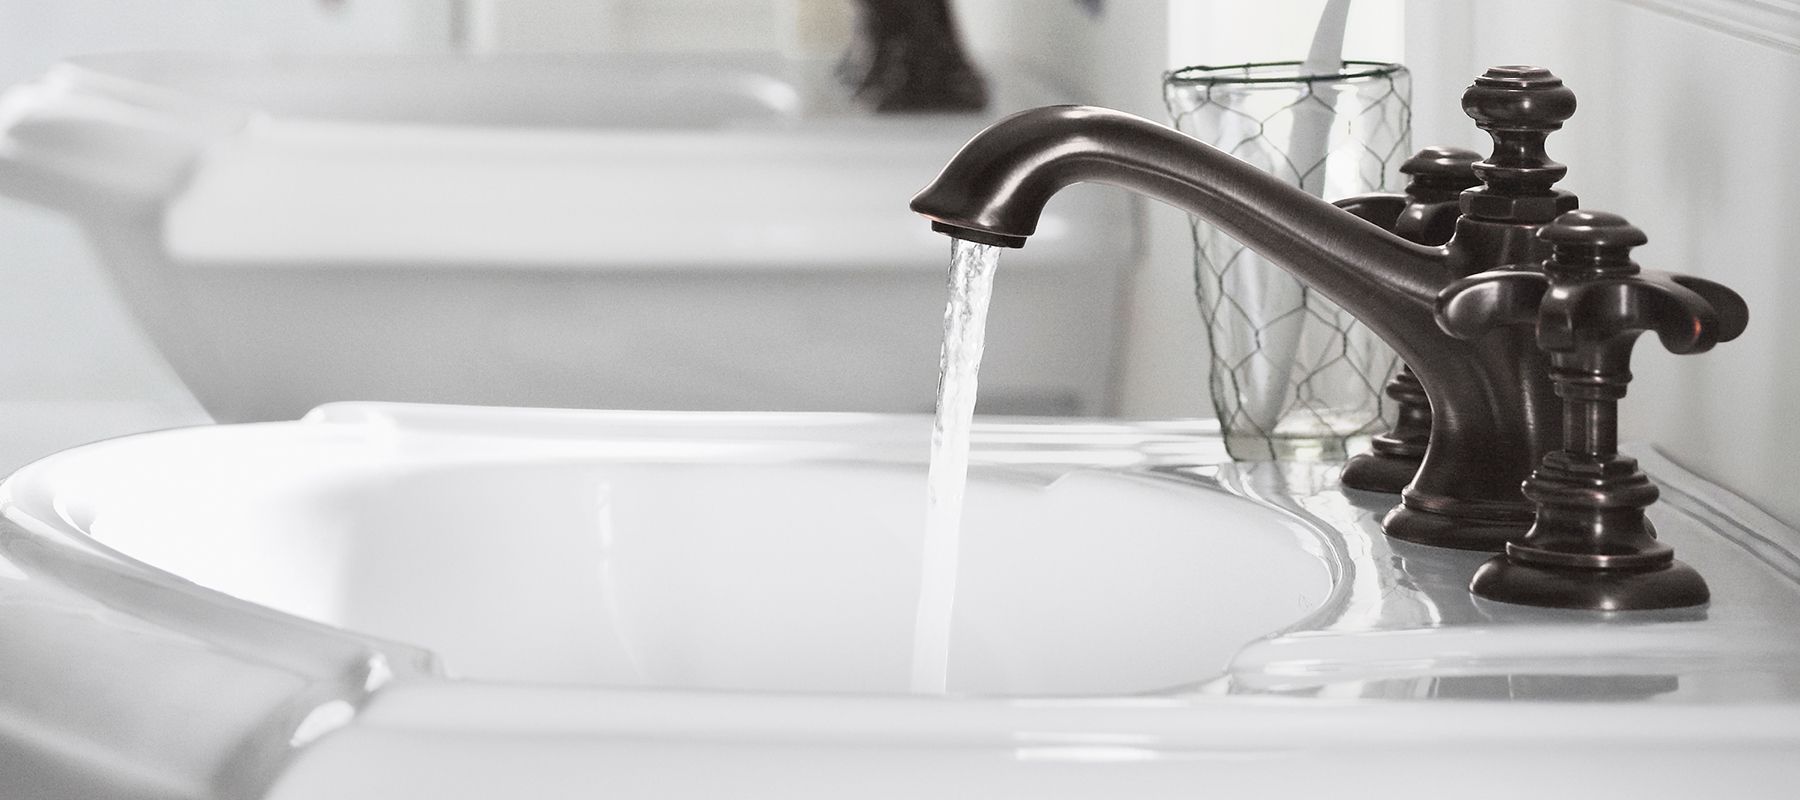
It doesn't require much investment to introduce a bathroom sink faucet. However, there are a few things you might need to consider before obtaining the faucet. To start with, look at the number of gaps that the sink has for faucet at that point get one that will either utilize them or spread them. Consider is the color of the faucet sections the color of the drain trim. If the new faucet doesn't coordinate you might need to supplant the drain piece alongside the faucet.

einstein-plumbing-services-12jpg

Removing an Old Faucet

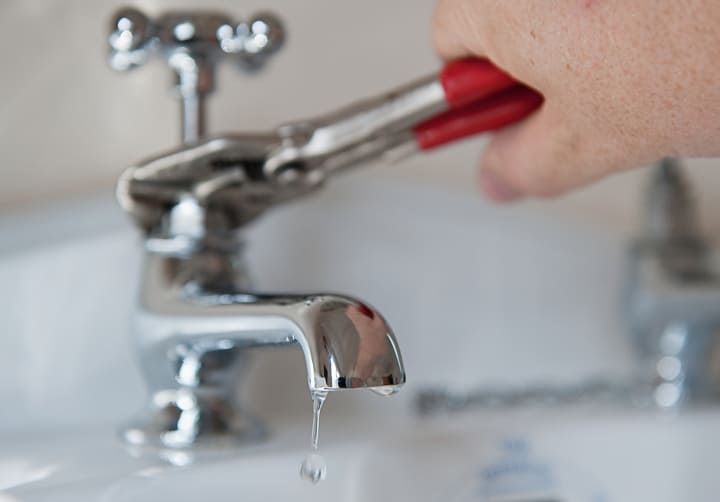
At first, Turn off the supply valves under the sink or simply leaving the wall. If you are first removing an old faucet, put a container under the valves as you unscrew the hot and cold water supply lines at the faucet as there will, in any case, be water in the lines. At that point, you should unscrew the nuts holding the faucet set up with a basin wrench. Take the faucet out and tidy up the territory from the old faucets.

Introducing the New Faucet

A few faucets accompany a gasket that will seal the new faucet to the sink, others instruct you to utilize handyman's putty. Either place the gasket on or place handyman's putty on the base of the new faucet or set into the spot.

Try not to be hesitant to utilize an excess of putty as you need it to seal right around and the addition will simply press out. Fix the nuts under the faucet to verify and adjust it, at that point tidy up the additional putty. Spot some Teflon tape around the water bay fittings to ensure that a tight fit to the hoses and append the hoses.

Make a point to put the tape on a similar way you will screw on the hoses. Take the aerator off the faucet and walk out on. Check for holes and enable the water to keep running for a couple of minutes to get out whatever could have been in the faucet. Set the aerator back on and your new faucets are prepared to utilize.

How To Fit A Shower Panel In Your Bathroom

Installation guidelines are given each buy. If despite everything you can't introduce it, adhere to the guidelines referenced beneath.

Cutting

Right when cutting the sheets to width and stature using a handsaw, the upgrading face should confront upwards. Right when cutting with a jigsaw or round observed, the improving face should confront downwards.

Holes

A space of 2-3mm should be left where channels or fittings get past the board even where collars are to be tailored. The room should be stacked with Wetwall silicone sealant.

Settling

In case a Wetseal isn't being fitted then a 3-4mm cleft should be left between the board's base and the shower plate or shower by using packers when changing sheets. The gaps should be then settled using Wetwall silicone sealant. Wetwall silicone sealant should moreover be used on every one of the corners and garnish profiles.
rBVaSVucpsqAXaI5AAFR7Tz3CAQ647jpg

Wall Faces

The sheets can be changed to most surfaces using paste, giving they are complete and free from slack particles.

The sheets can in like manner be adjusted specifically onto existing tiling given that they have been de-lubed.

Apparatuses

Apparatuses and shower associations can be settled straightforwardly to the sheets using appropriate fixings. Heavier things, for instance, sterile and convenient furniture will require the obtainment of additional support behind the sheets.

Standard Installation

Two Sided Shower

1. Fit an internal corner profile into the corner using appropriate fixings (screws), ensuring that the crowns are countersunk to forestall fouling when fitting the board.

2. Oust the film from the board's substance and check for deformities going before cutting to gauge.

3. Apply a globule of sealant into one side of the interior corner profile, the proportion of sealant associated should cover the channel base to a significance of no under 2mm.

4. The sheets should be fitted with the end goal that a fissure is surrounded between the sheets' base and the shower plate of between 3-4mm. This should be recorded with sealant and cleaned up flush with the sheets' front once all of the sheets have been fitted

5. In the occasion that end top profiles are being used then these should be fitted to the outside edges of the board now.

6. Apply a liberal proportion of paste in "snakes" to the board and fit into spot ensuring that the board's edge is inserted into the internal corner and a respectable seal achieved.

7. Repeat zones 2-6 for the second board.

For more information on the best shower panels.